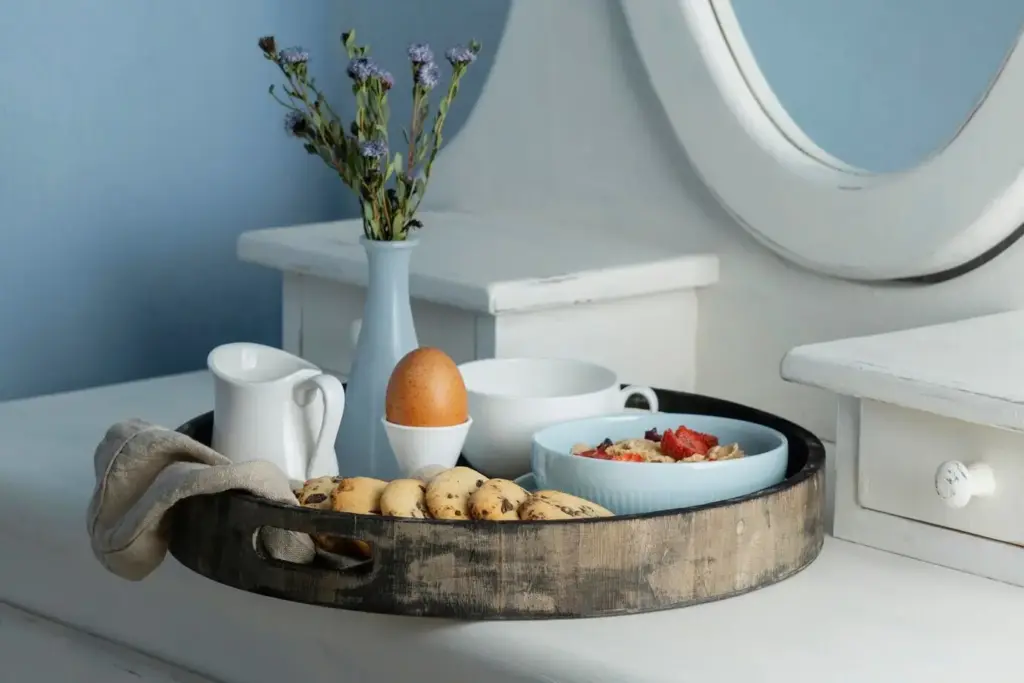
Instant Elevation: Sophisticated Upgrades Through Small Swaps
Today we dive into high-impact hardware and fixture swaps for an instant upscale effect, proving that a handful of precise changes can transform rooms without demolition. Expect practical steps, designer-backed insights, and real-world anecdotes that help you act confidently. We will cover lighting, faucets, cabinetry details, and tactile touchpoints, revealing why finish selection, proportion, and placement matter. Share your before-and-after moments, ask questions in the comments, and subscribe for follow-ups packed with checklists, supplier tips, and renter-friendly strategies you can start this weekend.
Cabinetry and Doors: Big Visual Payoff with Minimal Effort
Swap dated knobs and levers for pieces with substantial weight, refined profiles, and finishes that complement your room’s undertones. The difference is immediate because these are the parts you touch every day. A single coordinated change—pulls, hinges, and backplates—can unify scattered styles. Focus on comfort in hand, screw spacing that fits existing holes, and lengths that match door proportions. Even in rentals, changeable hardware can signal quality and care, sparking compliments from guests who cannot pinpoint why everything suddenly feels considered.
Lighting That Changes Everything
Lighting dictates mood more than almost any other upgrade. Replace builder-grade fixtures with sculptural pendants, refined sconces, and dimmable sources that flatter skin tones and materials. Prioritize high CRI bulbs for accurate colors, select color temperatures to suit each zone, and ensure proper scale above islands and tables. Adding dimmers is a rapid, affordable refinement that introduces layers. With one afternoon of swaps, shadows soften, surfaces gleam, and your space suddenly reads as intentional, welcoming, and quietly luxurious day and night.
Statement Pendants, Properly Placed
Center pendants carefully and hang them low enough to define a zone without obstructing views. Over a kitchen island, consider two medium fixtures instead of one giant piece for rhythm. Matte opal glass diffuses glare, while ribbed or linen shades add texture. Match canopy and downrod finishes to nearby hardware for cohesion. Scale matters: fixture diameter should harmonize with island width and ceiling height. The result is sculptural light that feels custom, not chaotic, guiding eyes along a thoughtful visual path.
Dimmers, Bulbs, and the Color of Comfort
Install dimmers to move effortlessly from bright tasks to soft evening ambiance, dramatically improving perceived quality. Use high-CRI bulbs so paint colors, wood tones, and fabrics appear true, not muddy. Warm white works for dining and living, while neutral white suits kitchens and offices. Make sure your dimmers and bulbs are compatible to avoid flicker. This subtle control makes hardware finishes gleam, reveals stone veining, and flatters faces, creating a sensory experience that feels expensive despite the minimal outlay and quick installation.
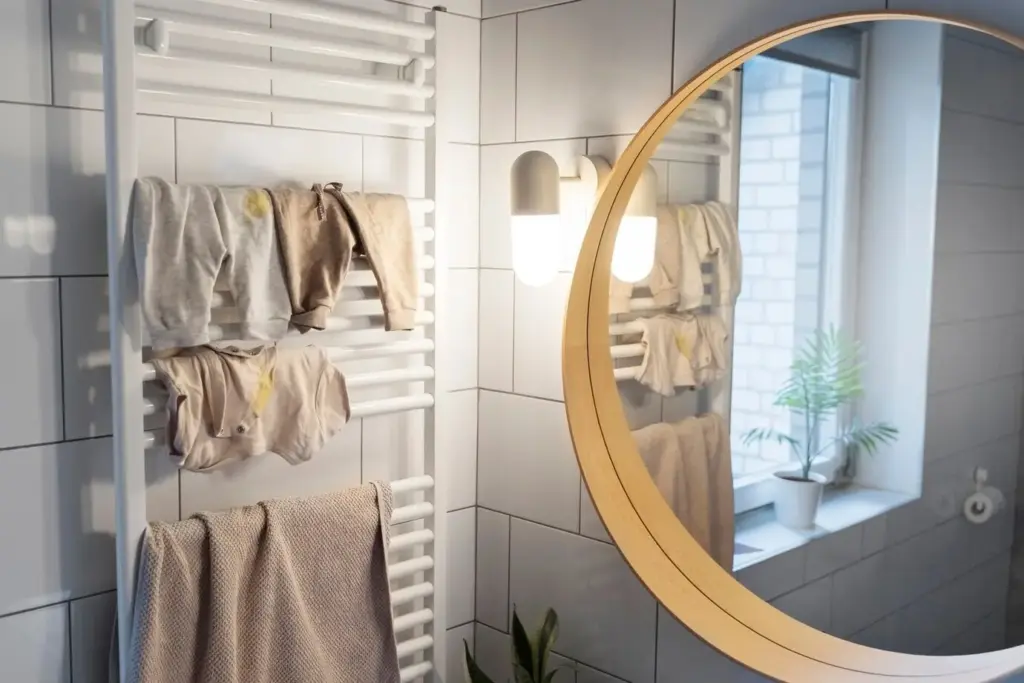
Sconces and Vanity Lights that Flatter Faces
Well-placed sconces at eye level on either side of a mirror eliminate harsh shadows and produce magazine-worthy reflections. Choose shades that diffuse evenly and finishes that echo faucet metal for cohesion. In hallways, a rhythmic sconce sequence adds hospitality and softly frames artwork. In living areas, sculptural sconces double as nighttime jewelry for the walls. With minimal electrical changes—often just a swap—you transform utilitarian corners into warm, elegant moments that greet you with calm and confidence every single day.
Faucets and Showers: Everyday Rituals, Elevated
Water fixtures blend performance and beauty, making them ideal upgrades with immediate sensory rewards. A graceful arc faucet improves clearance and cleaning reach, while a weighted pull-down sprayer feels professional and responsive. In baths, a new showerhead can soften pressure, widen coverage, and reduce noise instantly. Coordinate finishes with nearby hardware, and consider tactile handles that turn smoothly. Even a powder room faucet swap can spark compliments, signaling thoughtful curation. Small plumbing changes, done correctly, create spa-like rituals that linger long after installation.
Touchpoints and Trims People Notice
Your hands find the truth of quality on switches, outlet covers, door stops, and hooks. Replacing plastic plates with metal or painted wood instantly refines walls. Low-profile door stops protect baseboards while disappearing visually. Coordinating registers and grilles elevates floors, bringing cohesion to overlooked surfaces. These discreet elements operate like punctuation, clarifying the tone of a room. Together, they broadcast care and intention, generating that elusive, upscale calm guests sense immediately yet rarely identify verbally, because it simply feels right.
Finishes and Mixing Metals with Confidence
{{SECTION_SUBTITLE}}

Undertones, Sheen, and the Light in Your Room
Test finishes in your actual lighting, because daylight, LEDs, and lamp shades shift color perception. Warm brass may skew green under cool bulbs, while polished nickel can echo nearby blues. Contrast sheen intentionally: matte black against satin cabinetry creates calm depth. Lay samples near stone and wood to confirm undertones. Photograph at different times of day to compare. This patient approach prevents mismatches and ensures every gleam, shadow, and reflection supports a cohesive, rich atmosphere that feels professionally orchestrated yet uniquely yours.
When and How to Mix Metals
Limit mixes to two or three finishes per space, assigning roles deliberately. Perhaps brass leads on faucets and pendants, with black as an accent on knobs and frames. Keep similar sheens together for harmony, or contrast decisively for drama. Carry the combination through adjacent rooms for continuity. Repetition is the secret to balance, ensuring the eye reads intention, not randomness. The result is layered character that looks custom, raising perceived value without requiring a full-scale renovation or complicated, budget-straining coordination efforts.
Budget, Tools, and Flawless Execution
Smart planning amplifies every dollar. Allocate budget where hands and eyes linger—faucets, levers, and lighting—then coordinate smaller pieces to reinforce the story. Use templates to drill consistently, painter’s tape to mark positions, and a level for perfection. Keep a magnetic tray for screws, label hinges per door, and photograph existing wiring before changes. With simple tools and measured pacing, you sidestep costly mistakes. Share your progress, ask for supplier recommendations, and subscribe for printable checklists supporting weekend wins and polished, professional results.

High-ROI Allocations and Phased Plans
Begin with the most visible and tactile elements to maximize impact fast: entry levers, kitchen faucet, island pendants, and powder room fixtures. Phase the rest as budget allows, reusing holes to avoid patching. Set a dominant finish early and stick with it across rooms for a calm, collected feel. Track purchases in a simple spreadsheet and reserve a contingency for last-minute adjustments. This disciplined approach ensures steady, confidence-building progress and an instantly elevated home at every completed phase.
Templates, Jigs, and Measuring Without Mistakes
Use cabinetry templates or a drilling jig for consistent hole spacing and level hardware. Measure twice, then mark with painter’s tape before committing. A center punch prevents the bit from wandering, and low-speed drilling protects finishes. Keep a soft cloth under each piece to avoid scratches during installation. For lighting, confirm junction box support and canopy coverage. These careful habits deliver crisp lines, even reveals, and a professional look that convinces guests you hired an expert, even when you confidently did it yourself.
Common Pitfalls and How to Avoid Them
Avoid mixing too many finishes, undersized pendants, and flimsy hardware that rattles. Always verify screw lengths so they do not pierce cabinet faces, and confirm dimmer compatibility to prevent flicker. For faucets, check reach and spout height relative to sinks to limit splashing. Keep all fasteners organized by room and label removed pieces for potential reinstallation in rentals. With patience and a methodical process, you prevent headaches, protect surfaces, and secure the elegant, durable results your effort and investment deserve.

All Rights Reserved.